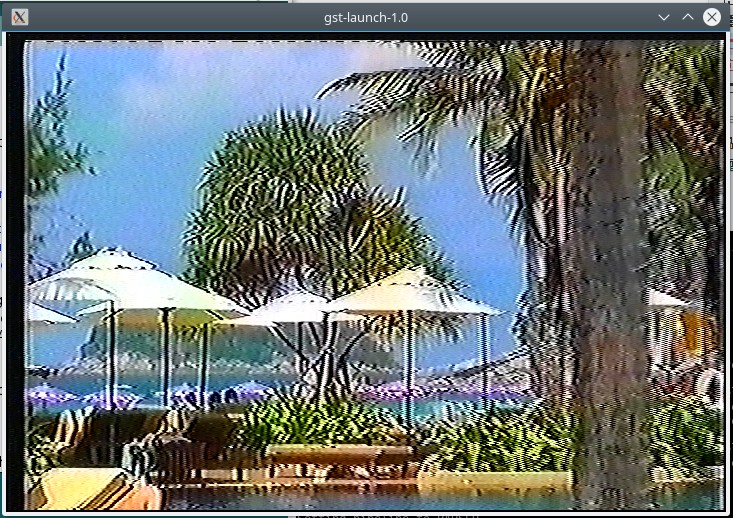
How to digitize old VHS videos with an EasyCAP UTV007 USB converter on Linux
It’s 2017! VHS is dead! If you don’t have a functioning VHS player any more, your only option is to buy second-hand devices. But if you still have old, valuable VHS videos (e.g. family videos) you should digitize them today, as long as there are still working VHS players around.
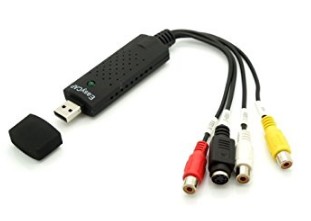
Our goal is to feed the audio/video (AV) signals coming out of an old VHS player into an EasyCAP UTV007 USB video grabber, which can receive 3 RCA cables (yellow for Composite Video, white for left channel audio, red for right channel audio).
VHS players usually have a SCART output which lucklily carries all the needed signals.
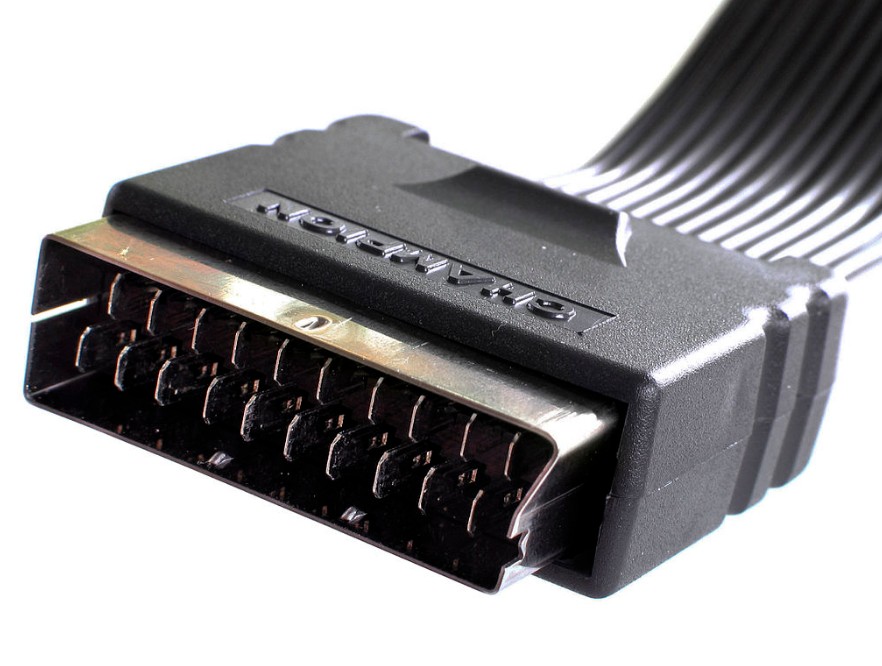
Via a Multi AV SCART adapter you can output the AV signals into three separate RCA cables (male-to-male), and from there into the EasyCap video grabber. If your adapter should have an input/output switch, set it to “output”.
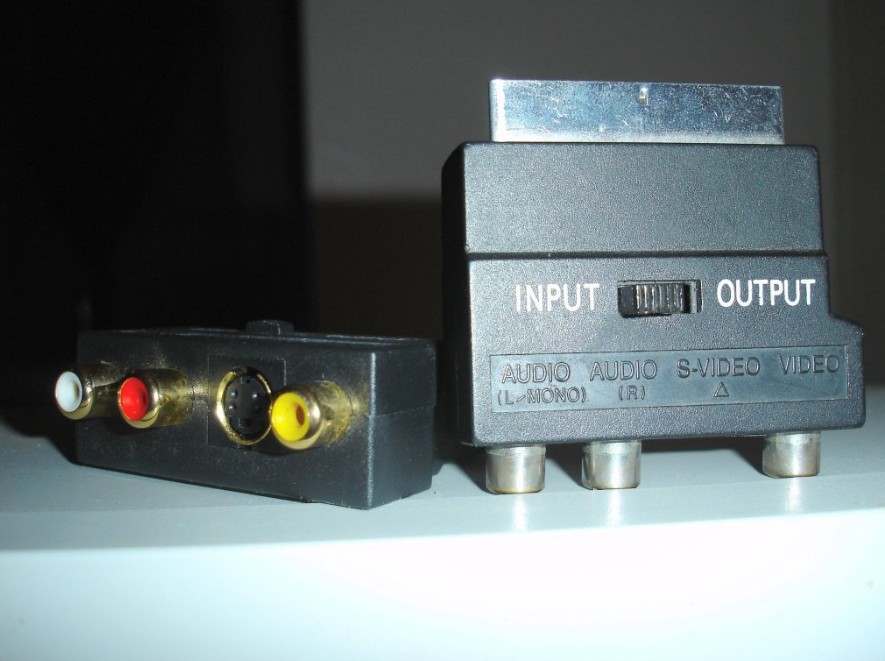
The EasyCAP USB converter uses a UTV007 chip, which is supported by Linux out-of-the-box. After plugging the converter into an USB slot, you should get two additional devices:
- A video device called
usbtv - A sound card called
USBTV007 Video Grabber \[EasyCAP\] Analog Stereo
Too see if you have the video device, run v4l2-ctl --list-devices. It will output something like:
usbtv (usb-0000:00:14.0-7):
       /dev/video0
To see if you have the audio device, run
pactl list | grep -C 50 'Description: USBTV007'
It will output something like:
Source #1
        State: SUSPENDED
        Name: alsa\_input.pci-0000\_00\_14.0-usb-0\_7.analog-stereo
        Description: USBTV007 Video Grabber \[EasyCAP\] Analog Stereo
        Driver: module-alsa-card.c
        Sample Specification: s16le 2ch 48000Hz
        Channel Map: front-left,front-right
        Owner Module: 7
        Mute: no
        Volume: front-left: 65536 / 100% / 0.00 dB,   front-right: 65536 / 100% / 0.00 dB
                balance 0.00
        Base Volume: 65536 / 100% / 0.00 dB
        Monitor of Sink: n/a
        Latency: 0 usec, configured 0 usec
        Flags: HARDWARE DECIBEL\_VOLUME LATENCY
        Properties:
                alsa.resolution\_bits = "16"
                device.api = "alsa"
                device.class = "sound"
                alsa.class = "generic"
                alsa.subclass = "generic-mix"
                alsa.name = "USBTV Audio Input"
                alsa.id = "USBTV Audio"
                alsa.subdevice = "0"
                alsa.subdevice\_name = "subdevice #0"
                alsa.device = "0"
                alsa.card = "3"
                alsa.card\_name = "usbtv"
                alsa.long\_card\_name = "USBTV Audio at bus 3 device 3"
                alsa.driver\_name = "usbcore"
                device.bus\_path = "pci-0000:00:14.0-usb-0:7"
                sysfs.path = "/devices/pci0000:00/0000:00:14.0/usb3/3-7/sound/card3"
                device.vendor.name = "Fushicai"
                device.product.name = "USBTV007 Video Grabber \[EasyCAP\]"
                device.string = "hw:3"
                device.buffering.buffer\_size = "22120"
                device.buffering.fragment\_size = "11060"
                device.access\_mode = "mmap"
                device.profile.name = "analog-stereo"
                device.profile.description = "Analog Stereo"
                device.description = "USBTV007 Video Grabber \[EasyCAP\] Analog Stereo"
                module-udev-detect.discovered = "1"
                device.icon\_name = "audio-card"
        Ports:
                analog-input: Analog Input (priority: 10000)
        Active Port: analog-input
        Formats:
                pcm
To quickly test if you are getting any video, use a webcam application of your choice (e.g. ”cheese”) and select “usbtv” as video source under “Preferences”. Note that this will only get video, but no audio.
We will use GStreamer to grab video and audio separately, and mux them together into a container format.
Install GStreamer
To install GStreamer on Debian-based distributions (like Ubuntu), run
apt-get installgstreamer1.0-tools gstreamer1.0-alsa gstreamer1.0-plugins-base gstreamer1.0-plugins-good gstreamer1.0-plugins-bad gstreamer1.0-plugins-ugly
Test video with GStreamer
Now, test if you can grab the video with GStreamer. This will read the video from /dev/video0 (device name from v4l2-ctl --list-devices above) and directly output in a window:
gst-launch-1.0 v4l2src device=/dev/video0 ! autovideosink
Test audio with GStreamer
Now, test if you can grab the audio with GStreamer. This will read the audio from the ALSA soundcard ID hw:3 (this ID comes from the output of pactl list above) and output it to PulseAudio (should go to your currently selected speakers/headphones):
gst-launch-1.0 alsasrc device="hw:3" ! pulsesink
Convert audio and video into a file
If both audio and video tested OK separately, we now can grab them both at the same time, mux them into a container format, and output it to a file /tmp/vhs.mkv. I’m choosing Matroska .mkv containing H264 video and Ogg Vorbis audio:
gst-launch-1.0 -e \
matroskamux name="muxer" ! queue ! filesink location=/tmp/vhs.mkv \
v4l2src ! queue ! x264enc ! queue ! muxer. \
alsasrc device="hw:3" ! queue ! audioconvert ! queue ! vorbisenc ! queue ! muxer.
Record some video and then press Ctrl+C. The file /tmp/vhs.mkv should now have audio and video.
It would be nice if we could see the video as we are recording it, so that we know when it ends. The command below will do this:
gst-launch-1.0 -e \
matroskamux name="muxer" ! queue ! filesink location=/tmp/vhs.mkv async=false \
v4l2src ! tee name=mytee \
mytee. ! queue ! x264enc ! queue ! muxer. \
mytee. ! queue ! autovideosink \
alsasrc device="hw:3" ! queue ! audioconvert ! queue ! vorbisenc ! queue ! muxer.
You also can re-encode the video by running it through ffmpeg:
ffmpeg -i vhs.mkv -vb 700k -ab 100k seekable-vhs.mkv
You can adjust the video and audio bitrate depending on the type and length of video so that your file will not be too large. The nice side-effect is that the coarser the video encoding, the more of the fine-grained noise in the VHS video is smoothed out.
And that’s it! You now should be able to record and archive all your old family videos!
